

© by Christa 15.09.2011
English 
This tutorial was written and designed by me © Christa
The © copyright for this tutorial belongs to me alone
The © for the translation belongs to me and Petra

This tutorial may neither be copied, nor offered for download at any other site
The © copyright for the material belongs to each individual artists.
Each of the tutorial, my tinkering has even pay attention to copyright.
My tutorials are intended as a suggestion.
thank you Elena Dudina for permission
© All copyrights belongs to the original artists
I'm just the designer
This tutorial was written with PSP 9
Print Icon - Print Page


thank you all my tester from my Tutorials
************************************************************
Mein Material 
Xero Improver
Xero – Bad Dream XL
Graphics Plus Cross Shadow
Unlimited 2.0 –Background Designers IV- Night Shadow Pool
Meine Schrift kann man hier downloaden
Such dir bitte eigenes Tubenmaterial.
Maskinto mask folder to psp - selection into selection folder
**********************************************************
 |
You may take this little figure
along for your orientation |
|
**********************************************************
A word to all of you
All the discription for my Tutorials are "How I create my Image"
For your Tubes and Colors you maybe change the settings -
If you use my Elements - you have to colorize
I do not write this anymore at the Tutorial
Lets start
*********************************
Step: 1
You need
Backgroundimage
1 Tube Misted
New Canvas 900 x 700 px transparent
open my material at PSP - minimize
Select your Background - my one is from Elena Dudina
Background_11 - Copy
Your Canvas - Selection - all - paste into a Selection
Selection -None
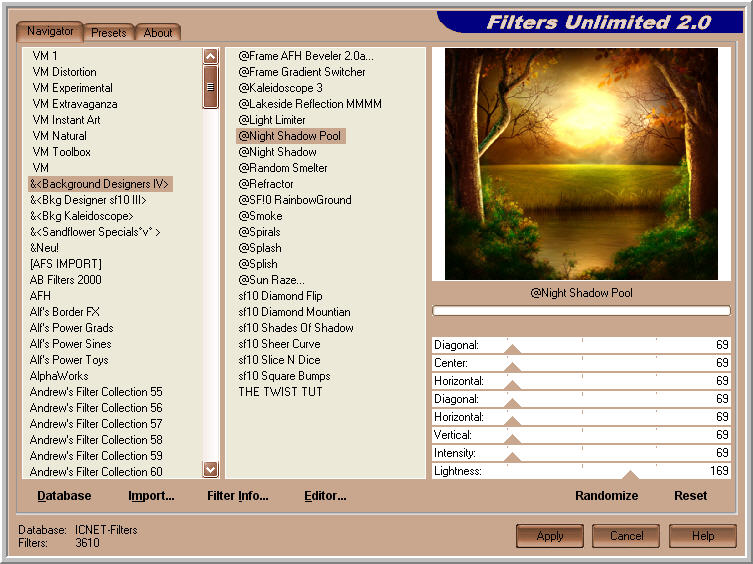
Plugin Unlimited 2.0 -Background Designers IV - Night Shadow Pool
*********************************
Step: 2
I used a 2. Image fo Elena Dudina
I adjust this Mask
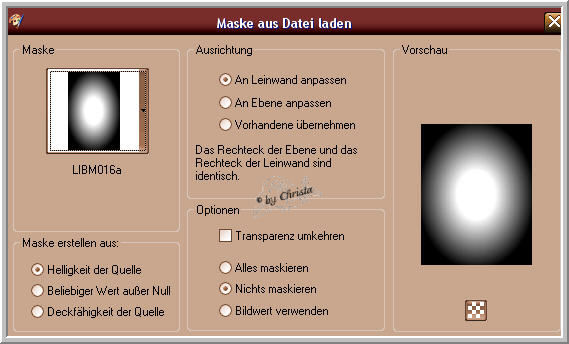
Merge - Group - Copy
paste as new Layer - Layer duplicate
Blend Mode - Soft Light
I use now the Erasertool and erase at the left and at the right
the Shadow of the Mask at both Layer

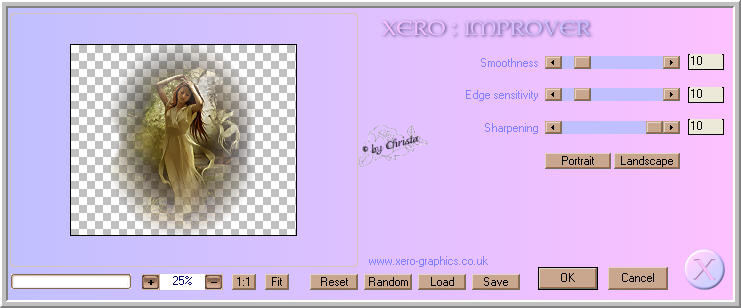
Adjust to the Originallayer - Plugin Xero Improver
Adjust to the duplicated Layer Plugin Xero Bad Dream XL (Default)
*********************************
Step: 3
Activ Layer 1
Selection - Load Selection from Disk
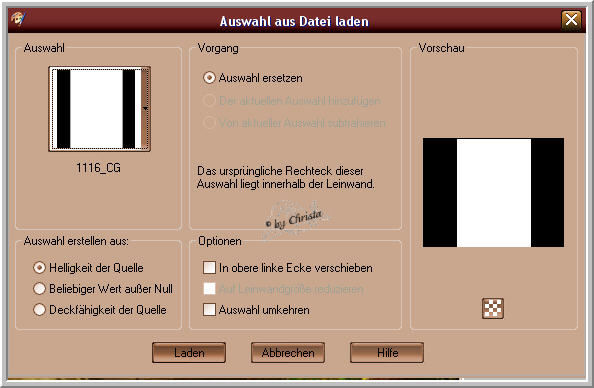
Selection - Invert - Edit - copy
New Layer arrang send Layer tothe top -
Edit - paste into a Selection
Effects - 3 D Effects - Inner Bevel
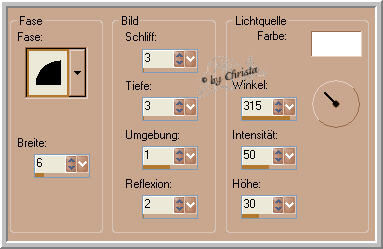
Selection - None - repeat the Filter Backround Designer as obove
*********************************
Step: 4
Copy "leaves.psd - paste as nw Layer - arrange to the top till the border
Rename into Animaton
Selection - All - Selection - Modify - Contract to 6 px
Selection - Invert
Layer 1 is activ - Edit - Copy
Edit - paste - Arrange the Layer to the top
Repeat the Inner Bevel - Selection -Noen
Drop Shadow 0/0/65/5,00 select a color out of your image #ffb30b
Merge Layer down
Your top Layer should be the Layer "Animaton"
*********************************
Step:5
Paste your Text as new Layer - Arrange - Send Layer down
Paste your Watermark and Copyrigthmention as new Layer
Preapering the Animation
Duplicate the Layer "Animation" 2 times
Stay at the 2. Copie
Plugin Graphics Plus Cross Shadow

Layer became invisible - 1. Copie is activ
Repeat Cross Shadow like this ....

Layer became - invisibel - Animation activ
*********************************
Step: 6 Animation
Backgroundlayer is activ - Edit - Copy - All Layer
AniShop - paste after the selected Frame
PSP - 1. Copie invisible - 2. Copie visible
Copy - All Layer - AniShop - paste after the selected Frame
Edit - Select all
Animaiton - Frameproperties to 25 Sec
Save as GIf
I hope you enjoyed the tutorial
Sincerely Christa
