© by Christa 03.03.2011
English 
This tutorial was written and designed by me
The © copyright for this tutorial belongs to me alone
The © for the translation belongs to me and Petra

This tutorial may neither be copied, nor offered for download at any other site
The material offered comes from tube exchange groups, or tube sites from the web
The © copyright for the material belongs to each individual designer
Sollte ich unwissentlich ein Copyright verletzt haben , Mail an mich senden.
cg@silvercurlyart.de
thank you Chaosgaby for the Exclusiv Tubes 
thank you MR for the tubes
© All copyrights belongs to the original artists
This tutorial was written with PSP 9
Print Icon - Print Page

Tutorials are tested here.
No registration possible is a closed group.

thank you all my tester from my Tutorials
************************************************************
My Material 
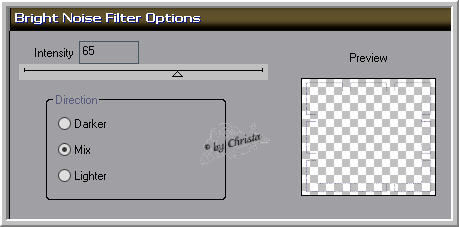
DSB flux - Bright Noise
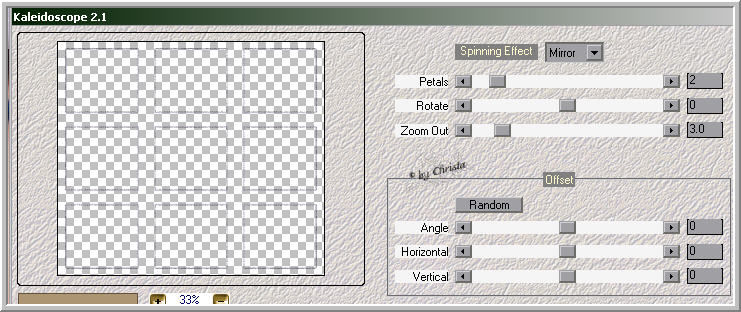
Mehdi Kaleidoscope 2.1
selection into Selection Folder to ps
**********************************************************
|
You may take this little figure
along for your orientation
|
|
**********************************************************
Step :1
Open the File " hg_cg.psd - duplicate with Shift + D
close the Original
Select now out of your Tubes a light FG Color #c5a5dd
and a darker BG Color #54377e
Colorize to your colors
Step :2
Layer duplicate -
Selection - Load Selection from Disk
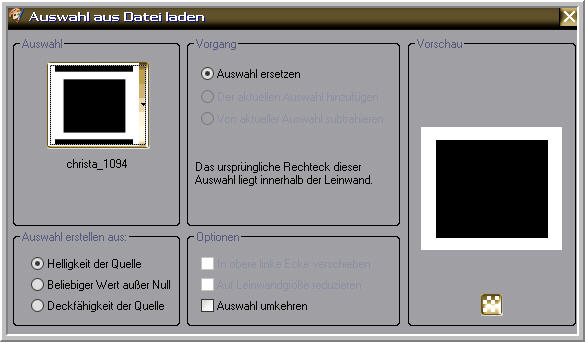
Delete - Selection - Invert
Layer - click to the Belt - to save the Transparence

Effects - 3 D Effects - Cutout

Selection - Modify - Select a Selectionborder
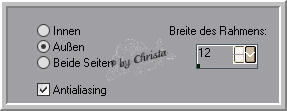
New Raster Layer fill with this Gradient

Selection - Stays
Step :3
Open the Birdtube - Mr_Blue Bird.psd - copy - paste as new Layer
Arrange to the right and to the bottom - Blend Mode - Luminance L
Activ the Layer with the Selection
Plugin Mehdi Kaleidoscope 2.1
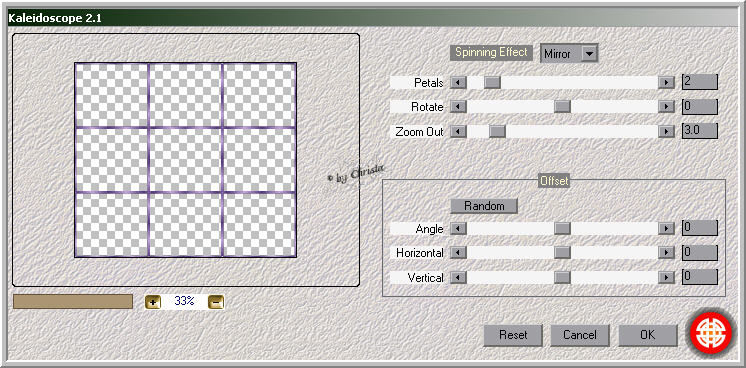
Repeat the Filter at the Birdtube
Activ the Layer with the Selection
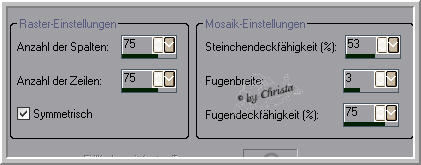
Effects - Texture Effects - Mosaic Antique
Effects - 3 D Effects - Inner Bevel

Selection - None
Step :4
Activ the Layer - Copie of Layer 1
Magic Wand - Tolerance + Feahter 0 - click into the empty Space
of the Layer - you got this Selection
Open your Facetube - it has to be a big one
Mine chtg.8.15023011.psd
copy - paste as new Layer - arrange into the middle of the image
Delete
Layer duplicate - Blend Mode - Soft Light
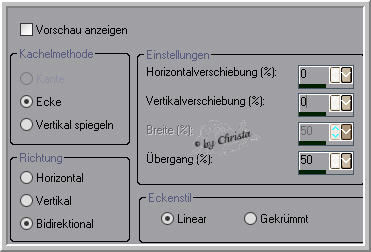
Effects - Image Effects -Seamless Tilling
Activ the Layer - with the Selectionframe - Layer duplicate
repeat Plugin Mehdi Kaleidoscope 2.1
Rename into "animation - Selection - None
Drop Shadow 0 / 0 / 50 / 6,00 Black
Repeat the Dropshadow to the Birdtube ..
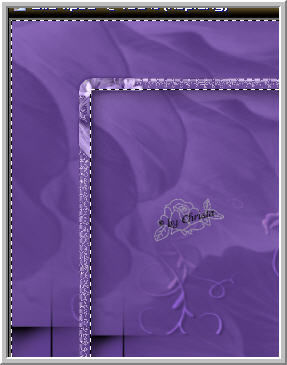
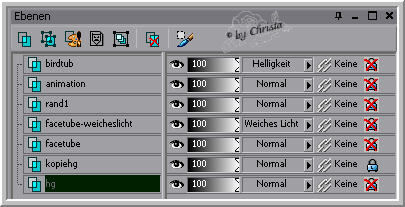
This is my Range - I rename the Layers for you
Step :5
Layer 1 - Selection - All - Selection - Modify
Contract to 12 px - Selection - Invert
New Raster Layer - send Layer to the top
fill with the Gradient - repeat Mosaic Antique
and the Inner Bevel - Selection - None
paste your Text and Watermark as new Layer
Step :6 Animaton
Activ the Layer "animation
Plugin DSB flux - Bright Noise
Copy all Layer - AniShop - paste as new Animaton
PSP - Repeat Bright Noise - click to the Point Mix once
Edit - copy all Layer - AniShop - paste after the selected Frame
PSP - Repeat Bright Noise - click to the Point Mix once
Edit - copy all Layer - AniShop- paste after the selected Frame
Select all and save as GIF
I hope you enjoyed the tutorial
Sincerely Christa