

© by Christa 19.02.2011
English 
This tutorial was written and designed by me
The © copyright for this tutorial belongs to me alone
The © for the translation belongs to me and Petra

This tutorial may neither be copied, nor offered for download at any other site
The material offered comes from tube exchange groups, or tube sites from the web
The © copyright for the material belongs to each individual designer
Sollte ich unwissentlich ein Copyright verletzt haben , Mail an mich senden.
cg@silvercurlyart.de
My thanks for the lovely material, for without it these pictures would not be possible
thank you Chaosgaby for the Exclusiv Tubes 
thank you Sharlimar for the Mask
© All copyrights belongs to the original artists
This tutorial was written with PSP 9
Print Icon - Print Page


thank you all my tester from my Tutorials
************************************************************
My Material 
Xero Improver
Photo Effex Scanlines
AAA Frames Foto Frame
AlienSkin Xenofex Constellation
Nik Color Efex Pro 3.0
Mask into Mask Folder to psp
**********************************************************
|
You may take this little figure
along for your orientation
|
|
**********************************************************
Step 1
Open the File tut_1085_CG.psd - with this file you got my Alpha Selection
light FG Color #a6b0ab
BG Color White
Fill Canvas with BG Color
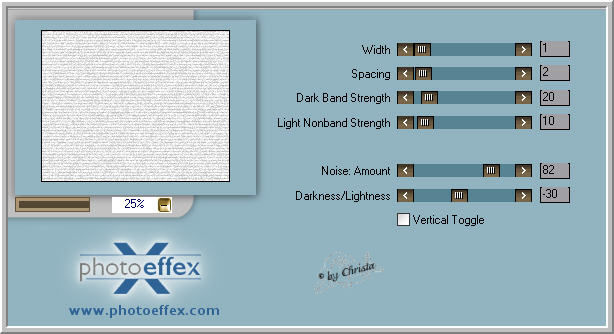
Plugin Photo Effex Scanlines
New Raster Layer
Selection - Load Selection from Alpha Chanel
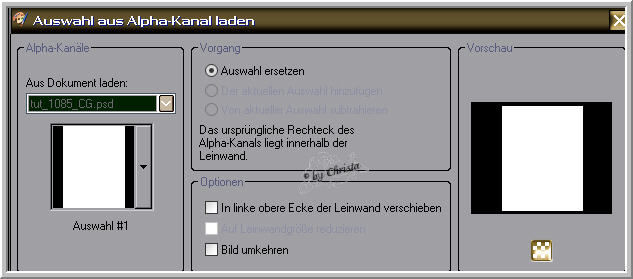
fill the Selection with White - Selection stays
Step : 2
Copy your Facetube - mine chg.31.15022011.psd
paste as new Layer - Arrange into the Selection - Selection - Invert
Delete - Selection - None
Activ the Layer with the filled Selection
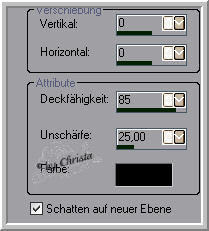
Drop Shadow - Shadow at new Layer is chequed
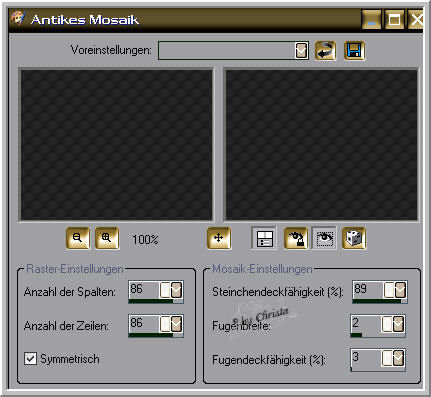
Layer with the Shadow - Effects - Texture Effects - Mosaic Antique
Step : 3
Copy "streifen_cg.psd - paste as new Layer - send Layer to the top
For you Colorize - Vaues H + S of FG Color
Layer - rename into "stripes"
repeat the Dropshadow - Shadow at new Layer is not chequed
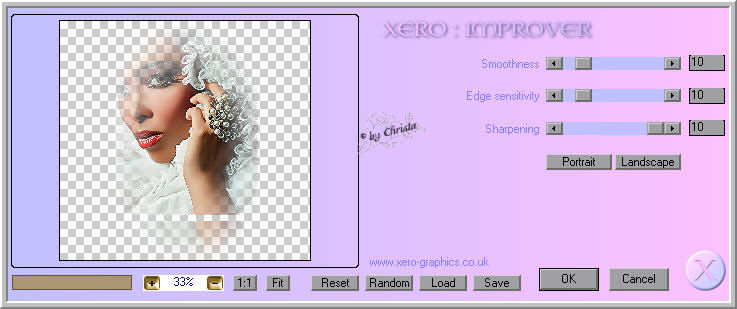
Femme Tube - Plugin Xero Improver
Step : 4
Copy "deco_frame.psd - paste as new Layer
or use your own Croner and arrange to all 3 Corners
For you colorize
Repeat the Drop Shadow
Layer 1 is activ
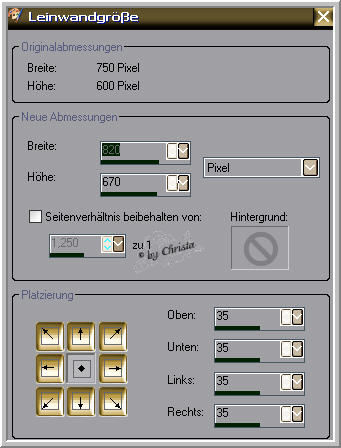
Image - Canvassize
New Raster Layer - send Layer down - fill with BG Color (white) for me
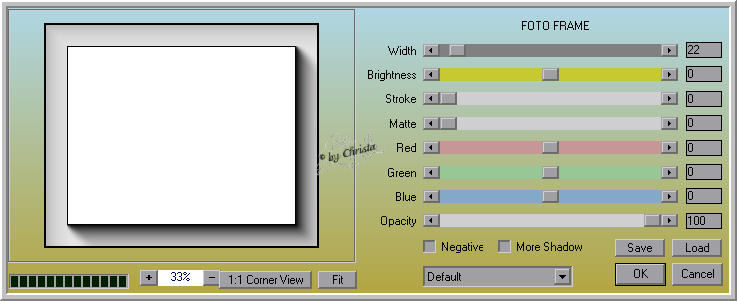
Plugin AAA Frames Foto Frame
Raster 1 - repeat the Drop Shadow
Step : 5
New Raster Layer send to the top
fill with FG Color
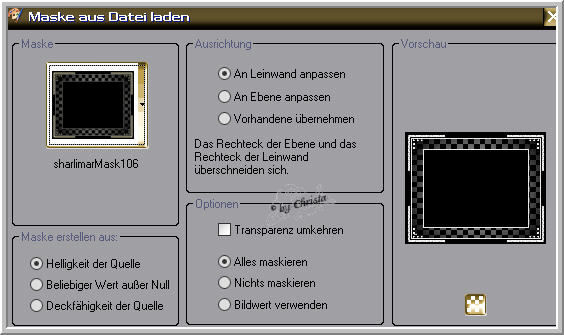
Layer - Load Mask from Disk - Merge Group
Selectiontool - Rectangle - select the Border at the middle of the Mask
Delete - Selection - None
Repeat Xero Improver
Copy the Text paste as new Layer - Colorize
Drop Shadow 0/0/85/2.00 Black
Paste your Watermark as new Layer
Step : 6 Animation
Layer "stripes is aktiv
Duplicate Layer 2 times
Stay at the 2. Copie
Plugin Nik Color Efex Pro 3.0_ Cross Processing
select a Method at the right for your colors
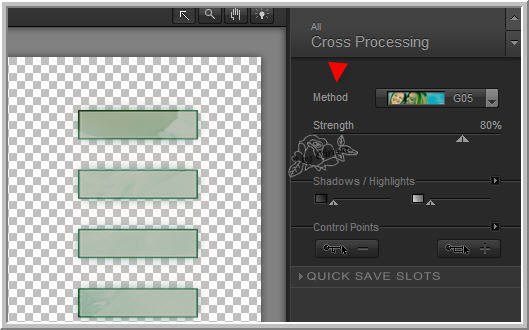
1. Copie of stripes - repeat the Nik Filter for me now Methode c04
Layer "stripes stays like it is
We start at the 2. Copie again
Plugin AlienSkin Xenofex Constellation
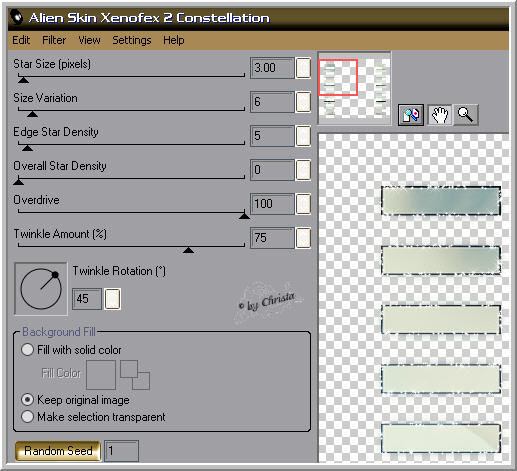
Layer became invisible
1. Copie repeat Xenofec like this
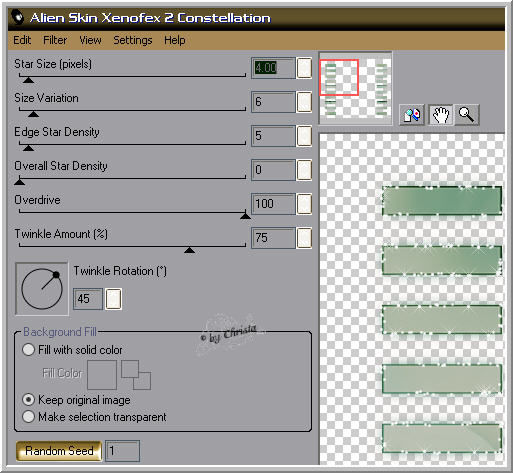
Layer became invisible
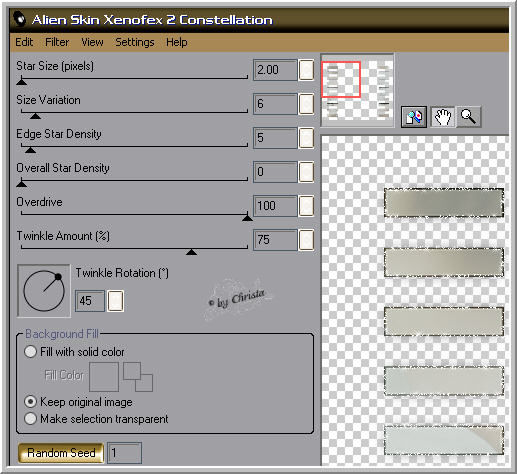
Layer "stripes Xenofex
Copy all Layer - AniShop - paste as new Animation
PSP - stripes became invisible - 1. Copie visible
Copy all layer - AniShop - paste after the selected Frame
BAck to PSP - 2. Copie visible
copy all Layer - AniShop- paste after the selected Frame
Edit - Select all - Frameproperties to 30
Save as GIF
I hope you enjoyed the tutorial
Sincerely Christa