© by Christa 06.02.2011
English 
This tutorial was written and designed by me
The © copyright for this tutorial belongs to me alone
The © for the translation belongs to me and Petra

This tutorial may neither be copied, nor offered for download at any other site
The material offered comes from tube exchange groups, or tube sites from the web
The © copyright for the material belongs to each individual designer
Should I have, unknowingly, violated any copyright, I ask that you notify me via
cg@silvercurlyart.de
thank you Chaosgaby for the Exclusiv Tubes
thank you for the Masken Nikita + Susanne
© All copyrights belongs to the original artists
This tutorial was written with PSP 9
Print Icon - Print Page


thank you all my tester from my Tutorials
Image from my Tester
************************************************************
Material 
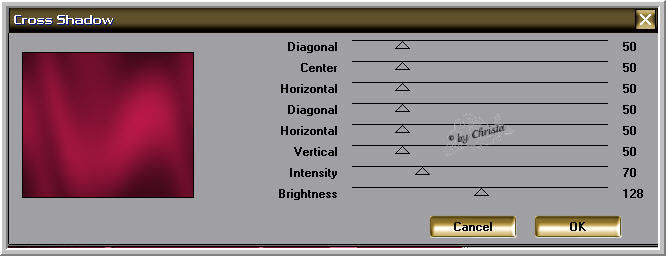
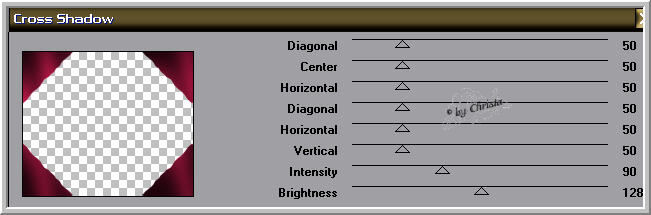
Graphics Plus - CrossShadow
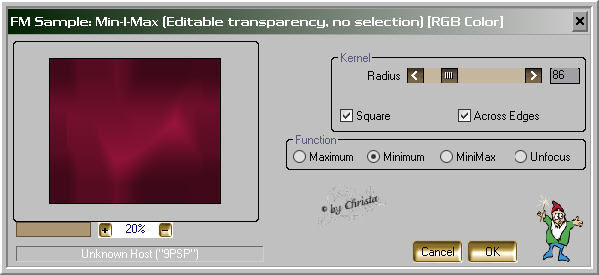
FilterMeister - FM Sample: Min-I-Max : Hier
Xero Improver
Mask into Mask Folder
**********************************************************
|
You may take this little figure
along for your orientation
|
|
**********************************************************
Step : 1
New Canvas 850 x 720 px transparent
Light FG Color #da528d
Dark BG Color #720d2b
Fill Canvas with BG Color
Plugin Graphics Plus Cross Shadow
Plugin FilterMeister - FM Sample: Min-I-Max
Effects - Edge Effects - Enhance more
Step : 2
New Canvas fill with FG Color
Copy the Tube " twoheartsribbon.psd - paste as new Layer
Blend Mode - Luminance L
Drop Shadow 1 / 1 / 65 / 1,00 Black + negativ Values
Layer - merge down
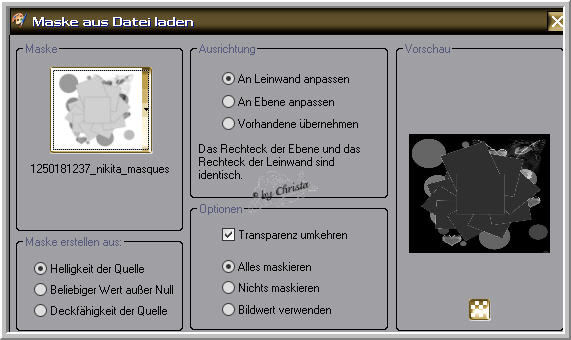
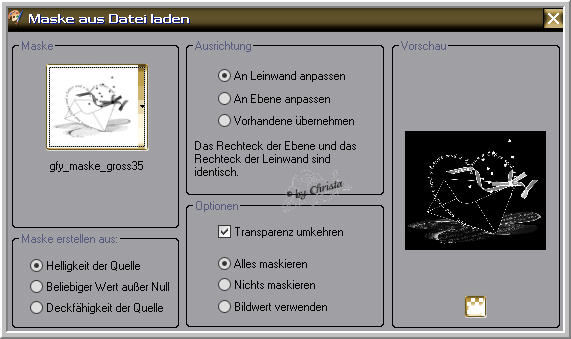
Layer - Load Mask from Disk - Merge group
Drop Shadow 1 / 1 / 65/ 1,00 Black
Step : 3
New Layer fill with FG Color
Layer - Load Mask from Disk - Merge Group
Layer duplicate - merge down - repeat the last
Drop Shadow - Rename into "mask"
Open your Face Tube - mine chg.16.05022011.psd
I resize mine to 90 %
paste as new Layer - arrange to the left
Plugin Xero Improver 10/10/10
Step : 4
Copy "element2_cg.psd - paste as new Layer
For you Colorize
Layer duplicate - Original Layer "element rename into "shadow"
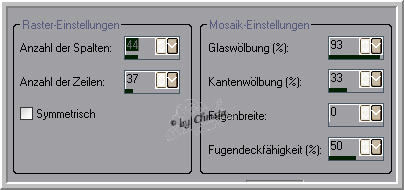
Duplicates Layer - Effects - Textureffects - Mosaic Glass
Selection - All - Selection - Modify - contract 40 px - Delete
Selection - Invert
Repeat Graphics Plus Cross Shadow
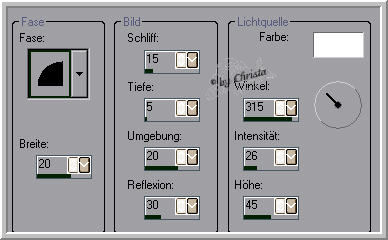
Effects - 3 D Effects - Inner Bevel
Adjust - Sharpness - Sharpen - Selection - Invert
Drop Shadow 1/1/65/1,00 FG Color + negativ Values
Selection -None
Paste your Watermark as new Layer
Step : 5
Animation
Layer "mask" duplicate once
Layer "shadow" duplicate once
Stay at the Copie
Plugin Graphics Plus Cross Shadow
Layer became invisible - Layer "shadow"
repeat Cross Shadow - Intensity to 120
Layer "Copie mask"
Plugin Alien Skin Xenofex 2 - Contstellation

Layer became invisible - repeat to the Layer "shadow"
Xenofex 3.00 and click Random Seed once

Copy all Layer - AniShop paste as new Animation
PSP
Layer shdow + mask became invisible
Copies became visible
Copy all Layer - AniShop - paste after the selected Frame
Select all and save as GIF
I hope you enjoyed the tutorial
Sincerely Christa